How to Use the Breville Espresso Machine Effectively
As an Amazon Associate, I earn from qualifying purchases, at no additional cost to you. Disclaimer
Have you ever wondered how you might transform your coffee-making routine from mundane to extraordinary? If so, you’re not alone. Many coffee enthusiasts like me have taken the leap into the world of espresso machines, and Breville is a brand that stands out in providing a café-like experience right at home. In this guide, I’ll walk you through the steps on how to use the Breville Espresso Machine effectively, ensuring every brew is a delight to your senses.

Explore the Best Espresso Machines
Getting Started with Your Breville Espresso Machine
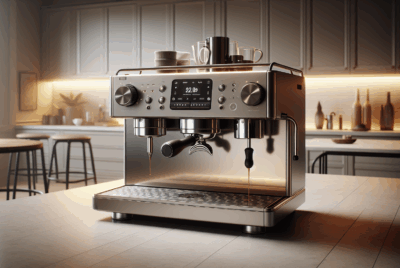
Before plunging into the art of espresso making, it’s crucial to familiarize yourself with your Breville Espresso Machine. The first step involves understanding the components and capabilities of the machine. While Breville offers various models, they typically share similar features designed to enhance your coffee-making experience.
Understanding the Basic Components
Every Breville espresso machine comes with certain standard components that you need to be familiar with. These components not only help you in operating the machine efficiently but also contribute to the quality of the espresso produced.
-
Water Reservoir: The water reservoir is where the machine stores the water needed for brewing. It’s detachable for easy refilling and cleaning. Ensure it is always filled with fresh water for the best taste.
-
Bean Hopper: If your Breville model has a built-in grinder, it will have a bean hopper on top. This is where you store your coffee beans. For ultimate freshness, only fill the hopper with the amount of beans you need for immediate use.
-
Portafilter: The portafilter is a removable component that holds the grounds during the brewing process. It fits snugly into the group head and plays a vital role in extracting the espresso shot.
-
Steam Wand: Found on the side of your machine, the steam wand is used for frothing milk. It can also serve to dispense hot water for other beverages or pre-heating your equipment.
-
Drip Tray: Positioned below the brew group and steam wand, the drip tray collects any spills or drips during operations, keeping your brewing area neat.
-
Control Panel: This is where you interact with your machine. It could be knobs, buttons, or a digital display depending on your specific model, and it’s used for starting and stopping the extraction, adjusting temperature, and more.
Setting Up Your Machine
Setting up your Breville Espresso Machine correctly is crucial to ensuring optimal performance. A common mistake I initially made was bypassing the user manual. However, a thorough read-through can save you from potential mishaps.
-
Placement: Find a stable and spacious area in your kitchen for your machine. Ensure the area is near an electrical outlet and has plenty of space for the steam wand to move and for you to operate the machine comfortably.
-
Initial Cleaning: Before first use, it’s essential to clean the machine’s components. Wash the water reservoir, portafilter, and any other removable parts with warm, soapy water. Rinse thoroughly to remove any manufacturing residues.
-
Priming the Machine: Fill the water reservoir and prime the machine to remove any air trapped in the system. This usually involves running water through the brew head and steam wand without any coffee grounds.
-
Water and Bean Selection: Use filtered or bottled water for the best taste and to prevent mineral build-up. Choose freshly roasted coffee beans for better flavor extraction during brewing.
Brewing the Perfect Espresso
Now that your machine is ready, let’s focus on crafting that perfect espresso shot. Despite what you might think, producing a café-quality espresso at home is a harmonious blend of art and science.
Grinding the Beans
A pivotal aspect of making a superb espresso is using freshly ground beans. If your machine includes a grinder, set the grind size to a fine consistency akin to table salt. If you have a separate grinder, aim for consistency in the grind size for uniform extraction.
Grinding Tips:
- Start with minimal beans to test the grind, and adjust as necessary.
- A finer grind offers more surface area for extraction but may clog the machine if too fine.
- A coarser grind will pass water too quickly, resulting in a weaker shot.
Tamp and Measure
Using the portafilter, measure the right amount of grounds. Typically, this is about 18-20 grams for a double shot, but this might vary based on personal preference and machine specifications.
Tamping Steps:
- Distribute: Use your fingers or a distribution tool to level the coffee grounds.
- Tamp: Apply firm, even pressure using a tamper. Ensure the coffee is compact and level to achieve uniform extraction.
- Wipe: Clear any loose grounds from the rim to ensure a proper seal during brewing.
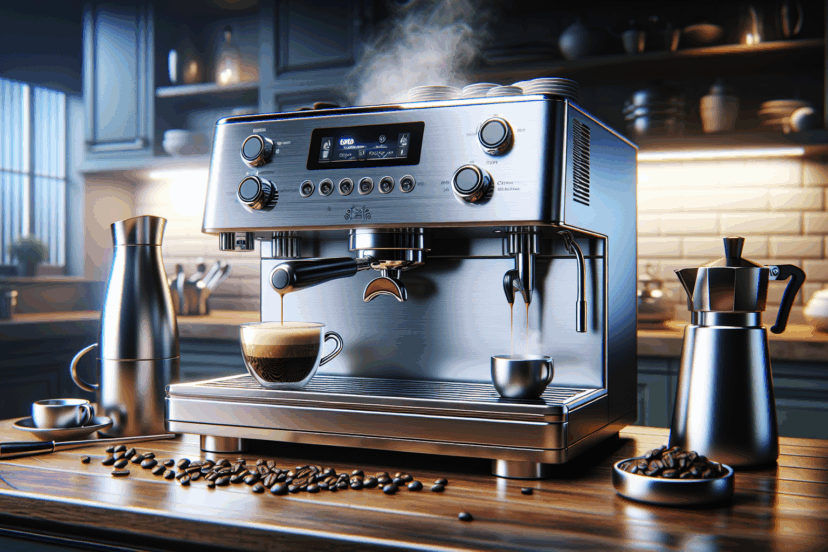
Pulling the Shot
Insert the portafilter into the group head and start the extraction immediately to prevent the grounds from going stale. A standard single shot typically takes 25-30 seconds to pull.
Shot Details:
- Aim for a precise timing to avoid over-extraction (bitter) or under-extraction (sour).
- Monitor the color change – a good shot starts dark, turning golden and then lightens to the end.
- Each espresso should have a rich crema on top, indicating a balanced extraction.
Steam and Froth Milk
The perfect companion to an espresso can often be a deliciously frothed milk, perfect for cappuccinos and lattes. The Breville machine makes steam wand usage straightforward but requires practice to master.
Preparing the Milk
For the best results, use fresh, cold milk. Whole milk offers a sweeter taste and better texture when frothed, while alternatives like almond or soy milk may require different techniques due to varying protein content.
- Quantity: Fill a stainless steel jug halfway to allow room for expansion.
- Temperature: Ideally, milk should be frothed to 60-65°C (140-150°F). Without a thermometer, aim for a jug that’s warm to touch but not too hot.
Steaming Process
- Purge: Before immersing the steam wand in the milk, purge it to expel any residual water.
- Positioning: Angle the steam wand just below the surface and slightly off-center in the jug.
- Aerate and Texture: Start with enough steam to create a whirlpool effect. Adjust the wand deeper as the milk stretches, finishing when you reach the desired temperature.
- Clean: Wipe the steam wand with a damp cloth immediately after use and purge briefly.
Cleaning and Maintenance
To maintain the longevity and performance of your Breville Espresso Machine, regular cleaning and maintenance are indispensable. Ignoring this can lead to bitter coffee tastes and potential mechanical issues.
Daily Cleaning Routine
After each brewing session, a simple cleaning routine can extend your machine’s life and enhance coffee flavor.
- Backflush: With no cleaning agent, use the machine’s clean cycle to backflush after each session.
- Rinse and Wipe: Clean the portafilter and wipe the group head to remove residual grounds.
- Steam Wand Care: Wipe and purge the steam wand after each use to prevent milk residue build-up.
Weekly and Monthly Maintenance
- Deep Clean: Use a cleaning agent for a thorough backflush to eliminate oils and grounds clinging inside the machine.
- Descaling: Based on water hardness, descale monthly or as needed to prevent lime build-up which can affect machine performance.
- Replace Parts: Routinely inspect gaskets and, if worn out, replace to ensure a good seal with the portafilter.

Troubleshooting Common Issues
Even with the best intentions, problems may arise. Here are commonly encountered issues and how to fix them.
Inconsistent Espresso Quality
- Check Grind: Inconsistent grind size affects extraction. Ensure grinder blades are sharp and adjust as necessary.
- Tamping Technique: Uneven tamping leads to channeling. Ensure an even, compact tamp.
- Water Temperature: If shots are sour or bitter, adjust the temperature settings slightly to balance flavor.
Espresso Leaking
- Gaskets and Seals: Inspect for worn-out seals that need replacement.
- Portafilter: Ensure it’s firmly locked into the group head.
Frothing Milk
- Insufficient Foam: Increase aeration time if not foaming enough. Ensure milk is cold for better froth.
- Bubbling and Sizzling: Too much air might have been introduced; adjust steam wand position.
Conclusion
using the Breville Espresso Machine effectively is a rewarding experience that can transform your morning routine. With practice, diligence, and a bit of patience, you’ll feel like a professional barista right in your own kitchen. Each element from setup, brewing, frothing, to maintenance is crucial to crafting that perfect cup of espresso. Remember, the journey of coffee making is a continuous learning process, and with every brew, you get closer to mastery. So, pull your shot, steam some milk if desired, and enjoy your homemade cup of excellence.