How to easily make espresso with Keurig
As an Amazon Associate, I earn from qualifying purchases, at no additional cost to you. Disclaimer
As a coffee lover myself, I know the cravings can hit anytime. Luckily, I’ve found an incredibly easy way to satisfy my espresso needs. Today, I’d like to share with you a convenient trick on how to make an irresistible cup of espresso using a Keurig. With this simple process, you’ll be able to indulge in a café-quality espresso in the comforts of your own home, any time you desire. So just hold tight, because you’re about to learn how to take your coffee game to the next level.
Understanding the Keurig Machine
Keurig has become a household name and is synonymous with quick, convenient, and tasty coffee. Let me take you through a bit of the history, the various models, and the key features of this fantastic machine.
Brief history of Keurig
Keurig was formed in the early 1990s, aiming at the office market. As traditional brewing methods were time-consuming and messy, Keurig founders sought to change the landscape by introducing a brewing machine that provided fresh coffee swiftly and easily. The first Keurig machines and K-Cups changed coffee brewing entirely and made way to households, revolutionizing the home-brewing experience.
Different models of Keurig
Throughout the years, Keurig has introduced several models, each with its unique features and perks. You may be familiar with the Keurig Mini for compact spaces or the Keurig 2.0 for advanced brewing options. There’s also the Keurig Elite that offers a strong brew option and iced coffee capabilities.
Key features of a Keurig machine
What sets the Keurig machine apart are its unique features. The machine uses K-cups, which are pods that contain both the coffee grounds and a filter. Insert the K-cup, press a button, and voila! You have a fresh cup of coffee. Moreover, Keurig devices can brew different sizes and intensities, allowing you to enjoy your favorite beverages any way you like.
Preparation Before Brewing
Before you start brewing your espresso, there are some steps to take, especially if you are new to the Keurig system.
Selecting the right Keurig model
Choosing the right Keurig model is critical as each comes with specific features. Factors such as affordability, cup size variability, and brew strength options should guide your decision.
Choosing your espresso K-cup
There are numerous espresso K-cups to choose from, ranging from mild to extra bold flavors. Choosing the right one depends on your personal preference.
Cleaning the machine
Before using the machine, clean it thoroughly. Cleaning prevents buildup that could potentially affect the taste of your coffee.
Filling the reservoir with water
Always have your reservoir filled with fresh, clean water. The water level should match the size of the cup you want to brew.
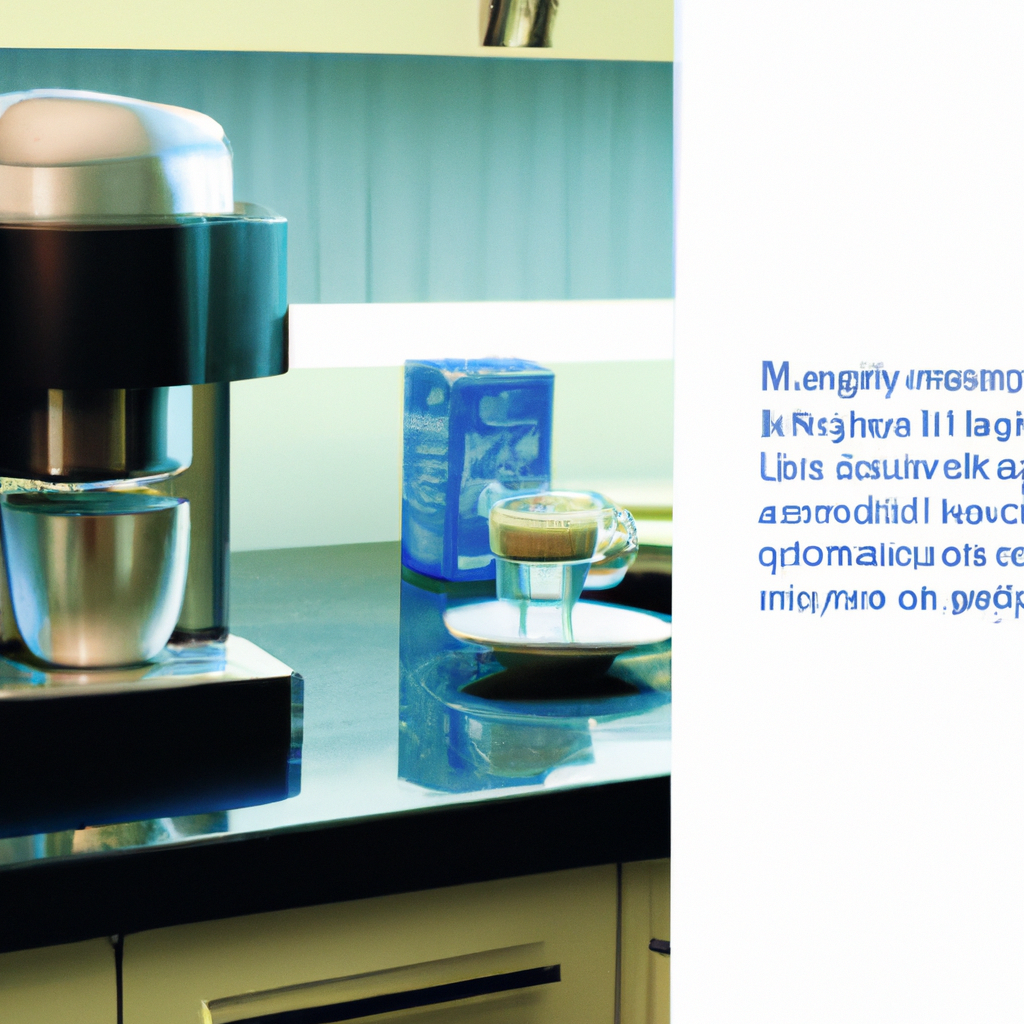
Turn on the Keurig Machine
Once you have the machine set up, next is to turn on the Keurig machine.
Locating the power button
The power button is usually situated on the top right of the machine, though it could vary with different models.
Warming up the Keurig machine
For the best results, allow the machine to warm up for a few minutes. During this time, the internal water temperature will rise to the optimal heat level for perfect brewing.
Checking water levels
Before brewing, always check the water levels to ensure there’s enough for the size of the cup you want to brew.
Positioning the K-cup for Brewing
Inserting the K-cup properly is crucial for a good brew.
Opening the K-cup holder
You can open the K-cup holder by lifting the handle at the top of the machine.
Correctly positioning the K-cup
Insert the K-cup with the labeled side up, ensuring it fits snugly into the holder.
Closing the K-cup holder
Lower the handle down until the K-cup holder closes completely.
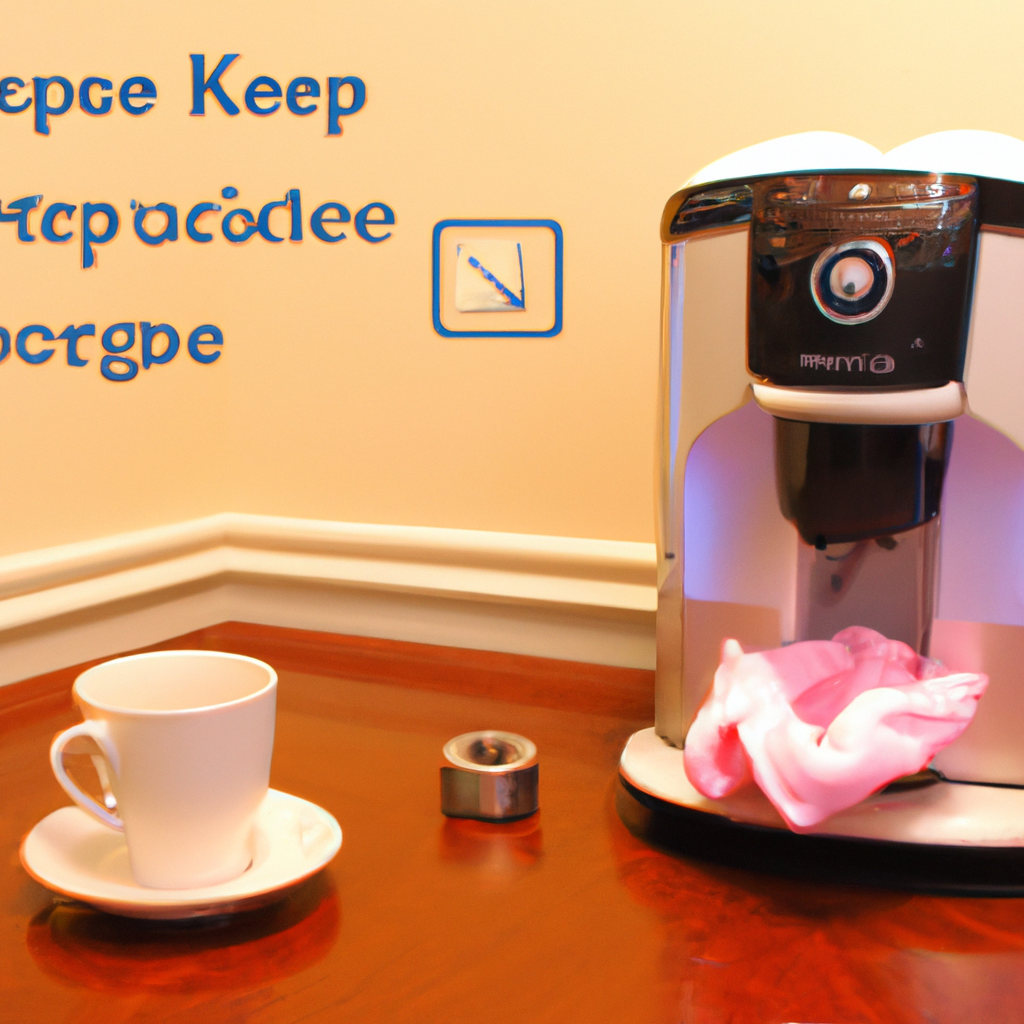
Choosing the Correct Brew Size
Brew size plays a significant role in the taste of your coffee.
Types of brew sizes available
Various models offer different brew sizes, ranging from 4 oz to 12 oz cups.
Selecting the size based on cup size
Select a brew size that suits your cup size to ensure your coffee doesn’t overflow.
Effects of brew size on taste and caffeine content
The brew size impacts the taste and caffeine content of your coffee. Smaller sizes result in stronger, highly caffeinated coffee, while larger sizes provide a milder and less caffeinated blend.
The Brewing Process
After choosing the brew size, we can now move to the brewing process.
Initiating the brewing process
Start the brewing process by selecting the desired brew size and pressing the brew button.
Time-frame for a brewing cycle
It takes about 1 to 2 minutes for the Keurig to brew a cup of coffee.
How to tell when brewing is complete
The brewing process is complete when the water stops flowing and the machine’s light stops blinking.
Cleaning After Brewing
Cleaning your machine after every brewing cycle is essential for maintaining its durability and performance.
Removing the K-cup
Once your coffee is ready, lift the handle, and the used K-cup will be ejected.
Cleaning the K-cup holder
Address any residual coffee grounds by cleaning the K-cup holder regularly.
Rinsing the machine
Rinse the machine after every brewing cycle to keep it clean and functioning optimally.
Troubleshooting Common Issues
Despite the simplicity of the Keurig machine, some issues may arise. Here are a few solutions.
What to do if machine will not brew
If your machine won’t brew, check if the water reservoir is not correctly mounted, the machine is not properly warmed up, or the K-cup isn’t properly inserted.
Addressing low water pressure issues
If your model has a water filter, change it regularly. If it persists, it may be a pump issue, in which case you need to contact Keurig customer service.
Solutions for inconsistent brew size
Inconsistent brew size could be due to scale buildup. Regular cleaning and descaling of your machine will help keep your brew sizes consistent.
Additional Tips for Making Espresso
For a strong and full-bodied espresso, here are some tips.
How to make a stronger brew
To make a stronger brew, choose a Dark Roast K-cup and select the smallest cup size.
Potential Keurig accessories for espresso brewing
Accessories like a milk frother can help enhance your espresso brewing experience.
Tips on maintaining your Keurig machine for optimum espresso brewing
Regular descaling, cleaning, and using fresh water can significantly impact the taste of your espresso.
Creating Variations of Espresso Drinks with Keurig
Apart from espresso, you can create other variations using your Keurig machine.
Making an Americano with Keurig
To make an Americano, brew a strong espresso and add hot water.
How to create a latte with your espresso
Create a latte using brewed espresso and adding frothed warmed milk.
Brewing a cortado or cappuccino with Keurig
For a cortado, add an equal amount of warm milk to your espresso. A cappuccino involves adding equal parts of espresso, steamed milk, and milk foam. With these recipes right at your fingertips and a Keurig machine, your home can easily transform into your favorite coffee shop!

