Espresso Tools: A Comprehensive Guide for Coffee Lovers
As an Amazon Associate, I earn from qualifying purchases, at no additional cost to you. Disclaimer
Introduction to Espresso Tools
Why are we talking about espresso tools, you might ask? Well, if you’ve ever tasted the perfect espresso shot, you know it’s not just about the beans. It’s the product of a beautiful symphony between the beans, water, and of course, the tools. Yes, the tools make the magic happen!
Importance of Espresso Tools
Imagine trying to assemble a piece of furniture without the proper tools. You could try, but it’s not going to be pretty, right? The same goes for espresso. Without the proper tools, you’re simply not going to get that rich, creamy shot you’re dreaming of.
The Basics: Essential Espresso Tools
Ah, the essentials. There’s a saying that goes, “A workman is only as good as his tools,” and this couldn’t be more accurate when it comes to making espresso at home. You need the right tools, and the good news is, once you’ve got the hang of them, you’ll be making barista-grade espresso shots in no time. So, let’s get started, shall we?
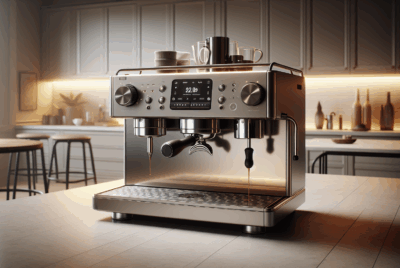
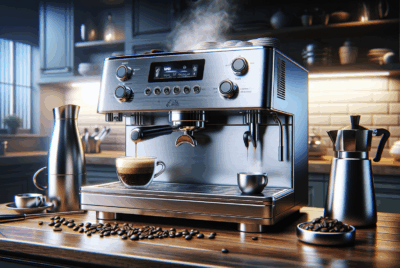
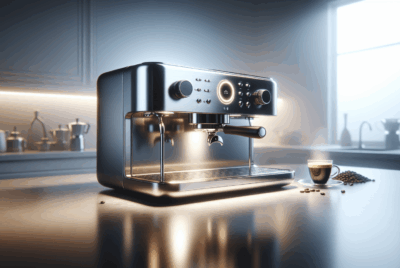
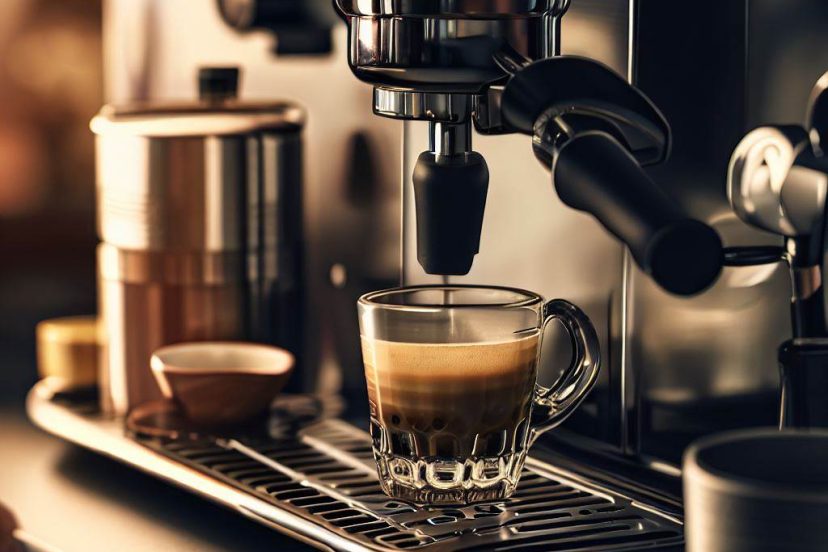
Espresso Machine
An espresso machine is like your magic wand, turning your coffee beans into a rich, delightful shot of espresso. Now, if you’re new to home-brewing, the array of espresso machines on the market might be a bit overwhelming. Don’t worry, I’ve been there too!
For beginners, a semi-automatic machine would be a good start. They allow for some degree of control but also take care of the tricky parts like maintaining pressure and temperature.
A personal favorite of mine is the Breville Bambino Plus. It’s compact, easy to use, and produces an excellent shot. And it doesn’t break the bank, which is a plus!
Coffee Grinder
Okay, so you’ve got your espresso machine. Now, let’s talk about the grinder. While it may be tempting to buy pre-ground coffee, I can’t stress enough how much fresher and more flavorful your espresso will be if you grind your beans just before brewing.
The grinder I first started with was a simple burr grinder. Burr grinders have two abrasive surfaces (or burrs) that the coffee beans pass through, resulting in a consistent grind size. This consistency is key to getting the extraction just right.
One piece of advice – avoid blade grinders. I once used one in a pinch when my burr grinder broke down, and the inconsistency in the grind size really affected the taste of my espresso.
Tamper
Here’s where your physical effort comes into play – tamping. Using a tamper, you’ll compress your freshly ground coffee into what we call a ‘puck.’ This compaction is essential because it ensures the hot water from your espresso machine will pass through the coffee evenly, extracting maximum flavor.
In my early days, I found that I was either tamping too hard or too light. It took some trial and error to find that sweet spot – firm but not overly forceful. A good rule of thumb is to aim for a pressure of about 30 pounds. If you’re serious about getting it just right, there are even tampers with built-in pressure gauges.
Now, this might seem a lot to take in if you’re new to this. Believe me, I know! I remember my first time trying to brew espresso at home. I felt like a mad scientist with all these gadgets. But trust me, with a bit of practice, you’ll soon be pulling shots like a pro.
Advanced Espresso Tools
So, you’ve got your basics down and are eager to step up your espresso game? Fantastic! Let’s explore some advanced tools that can really elevate your home-brewing experience and give you even more control and precision.
Milk Frother
When I first started brewing espresso at home, I mostly stuck to straight shots. But soon, I found myself missing the creamy lattes and frothy cappuccinos from my favorite coffee shop. That’s when I decided to invest in a milk frother, and let me tell you, it’s a game-changer!
A milk frother whisks your milk rapidly, creating a creamy, airy foam perfect for topping your espresso. This not only gives you that coffee-shop quality texture but also opens up a whole new world of drinks you can make at home – cappuccinos, lattes, macchiatos, you name it!
There are many types of frothers on the market – from manual ones to electric frothers. If you’re just starting with frothing, an electric frother can be a great choice for its ease of use. I remember my first frother – a simple electric one.
Coffee Scale
Precision is key when it comes to brewing espresso, and this is where a coffee scale comes in. When I first heard of people using scales to measure their coffee and water, I thought it seemed a bit over the top. But then, I decided to give it a try, and it completely transformed my espresso.
A coffee scale allows you to measure your coffee beans and water to the gram, ensuring you get the perfect coffee-to-water ratio every time. This might seem like a small thing, but it makes a big difference to the taste and consistency of your espresso.
The Hario V60 Drip Coffee Scale is a popular choice among many home baristas, including myself. It’s accurate, easy to use, and has a built-in timer, which can be super handy for tracking your brew time.
Espresso Shot Glass
One crucial aspect of making great espresso is getting the right volume of liquid from each shot. When I first started, I often found myself with shots that were either too short (under-extracted) or too long (over-extracted), resulting in an espresso that was either too strong or too weak.
That’s when I discovered the beauty of an espresso shot glass. These little glasses are typically marked with measurements, allowing you to easily ensure you’re getting the right amount of espresso. It took some time to get it just right, but once I did, my espressos were consistently delicious.
My first shot glass was a simple one with ounce and milliliter markings. It’s a small tool, but it’s made a huge difference to the quality of my espresso.
Tips and Tricks for Using Espresso Tools
Alright, now that we’ve covered the basics and the advanced tools, let’s dive into some practical tips and tricks I’ve picked up over the years. These nuggets of wisdom have greatly helped me in my espresso journey, and I hope they’ll do the same for you.
Understanding Your Espresso Machine
First and foremost, spend some time getting to know your espresso machine. Each machine is a bit different and understanding how yours works is key to pulling a great shot. When I got my first machine, I spent a weekend playing around with it, figuring out the perfect settings for my preferred taste. It was a fun, albeit caffeinated, weekend!
Grinding to Perfection
When it comes to the grinder, remember that the grind size is crucial. Espresso requires a fine grind, but how fine exactly? Well, it should be somewhere between table salt and flour. It took me a while to get this right, but once I did, it was a game-changer. A burr grinder can help you achieve this consistency.
Mastering the Art of Tamping
Tamping can be tricky for beginners. Remember, the goal is to create a compact, even surface for the water to pass through. One trick I learned is to hold the tamper like a doorknob and press down using your arm, not your wrist. It’s all about applying even pressure.
Frothing Like a Pro
Milk frothing can be a bit intimidating at first, but don’t worry, it gets easier with practice. Always start with cold milk and froth it until it’s creamy and has tiny, uniform bubbles. Also, remember to clean the frother immediately after use – trust me, cleaning dried milk is no fun!
Weighing for Consistency
I can’t stress enough the importance of a coffee scale in achieving consistent results. The ideal coffee-to-water ratio for espresso is around 1:2. That means for every gram of coffee, you’ll want about two grams of water.
Perfecting the Shot
With the espresso shot glass, the goal is to extract about 2 ounces (or 60 milliliters) of espresso. This usually takes between 20-30 seconds. If it’s taking less or more time, you might need to adjust your grind size or tamping pressure.
With these tips and tricks, you’re well on your way to brewing delicious espresso at home.
Conclusion
Espresso brewing is a combination of science and art, and it’s this blend that makes it so fascinating. Don’t be disheartened if your first few attempts don’t yield the perfect shot. Remember, while good beans are important, the tools you use and how you maintain them can make a world of difference. So why not invest in the right tools and enjoy the ultimate espresso experience at home?
Frequently Asked Questions (FAQs)
1. What’s the most important espresso tool?
The espresso machine is arguably the most important tool. However, all tools work together to create the perfect shot.
2. How often should I clean my espresso tools?
After every use is best, especially for the espresso machine and grinder.
3. Is a coffee scale really necessary?
For precision and consistency in your espresso shots, a coffee scale is highly recommended.
4. Can I use a blade grinder for espresso?
You can, but a burr grinder is preferred for its uniform grinding.
5. Do I need a milk frother for espresso?
Not for espresso itself, but it’s essential if you enjoy drinks like cappuccinos or lattes.